Using SketchUp to create Woodworking plans
The plan is at the centre of everything you do as a woodworker. A good plan saves you time, conserves materials, prevents waste, meets budgets, delights clients, and avoids mistakes. Try SketchUp's woodworking templates on for size now if you have not yet.
It is one of the world's most popular and acclaimed 3D design applications. You might just change your life when you see how useful, practical, and inspiring SketchUp woodworking models can be.
A SketchUp design allows you to formalize your ideas, determine exactly how much and what type of materials you need, and to support dazzling client presentations.
Making woodworking plans with SketchUp
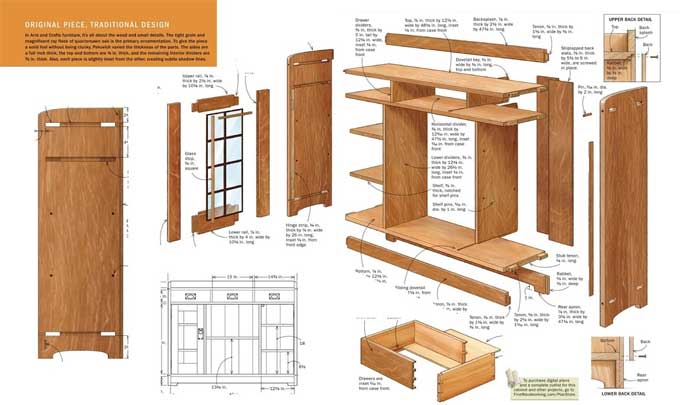
There are some excellent resources available for SketchUp woodworking plans. You can download premade SketchUp woodworking plans for free from the SketchUp 3D Warehouse, which is full of handy and inspiring SketchUp woodworking plans for you to use.
It does not matter if it is a coffee table woodworking plan, single bed woodworking plan, queen bed woodworking plan, or something altogether different, you can simply follow them or go further by copying them, amending them, and making them your own. There is definitely already a useful SketchUp woodworking template available if you wish to develop it.
What are the main SketchUp benefits for woodworkers?
Digital 3D modelling eliminates the need to build mockups. Sketches and evaluations are fast and easy, and ideas can be discarded and embellished along the way.
3D reproduction plans can be created from digital imagery, and you can examine and check your designs from every angle you can imagine. Using this method, you do not need to touch a piece of wood in order to make changes to your work.
You can create highly accurate SketchUp woodworking models, drawings, plans, and cut lists if you input accurate information. You can also experiment with changing the materials instantly, so you can see which wood looks best.
The free version of SketchUp is a great way to test-drive the software for free, and it's just as good for hobbyists as it is for woodworking pros. The journey begins by downloading and installing the free version - or by subscribing to SketchUp Pro, for the full package.
What are the steps to create a woodwork plan in SketchUp?
SketchUp is a powerful 3D modelling tool that can be used to create detailed woodworking plans. You can follow the steps listed below:
Plan your project: Before you start using SketchUp, it's important to have a clear idea of what you want to build. Sketch out your project on paper and make note of the dimensions and materials you will need.
Set up your workspace: Open SketchUp and set up your workspace. You'll want to make sure that you have the right tools and options selected, such as the "Rectangle" and "Push/Pull" tools.
Draw your project: Begin by drawing the base of your project using the Rectangle tool. Use the Push/Pull tool to extrude the base to the desired height. Then, draw the other components of your project, such as shelves, drawers, and doors.
Add details: Once you have drawn the basic shape of your project, add details such as decorative features, joinery, and hardware.
Create a cut list: Once you have your plan drawn up, you can create a cut list by measuring the dimensions of each component and listing them on a separate sheet.
Review your plan: Take a close look at your plan and make sure that all of the measurements are accurate and that everything fits together properly.
Export your plan: When you are ready to share your plan with others, you can export it as a PDF, JPG, or other file formats.
Other Steps to follow
1. Use the Group and Component tools to organize your drawing and make it easier to work with. By grouping related parts of your project, you can easily select, move, and edit them without affecting other parts.
2. Add annotations and labels to your plan using the Text and Dimension tools. This can help you keep track of important dimensions and identify parts of the project that may require special attention.
3. Use the Layers feature to control the visibility of different parts of your plan. By placing related objects on separate layers, you can easily hide or show them as needed.
To learn more, watch the following video tutorial.
Video Source: Bob's Wood Stuff
4. Consider using plug-in and extensions to extend the capabilities of SketchUp. For example, there are several woodworking-specific plug-in available that can help you create complex joints, cut lists, and other specialized features.
5. Test your plan by creating a 3D model and checking for any issues or errors. This can help you identify problems early on and make adjustments before you begin cutting and assembling the actual project.
By following these steps, you can create detailed and accurate woodworking plans using SketchUp that will help you bring your projects to life with confidence and precision. Remember that woodworking can be a complex and challenging process and it is important to take your time and double-check your measurements and plans before beginning any project.