SketchUp for Animation: Bringing Life to 3D Models

SketchUp is a user-friendly 3D modeling software used for creating architectural and other types of 3D models. It offers intuitive tools, a vast 3D Warehouse, and supports plugins for added functionality. It is popular among professionals and hobbyists for its ease of use and versatility.
How Can SketchUp be used for animation and to bring 3D models to life?
While SketchUp itself doesn't have built-in animation capabilities, it can serve as a starting point for creating animated content. Here's a general workflow to use SketchUp for animation:
1. Model Creation: Use SketchUp to create your 3D models and scenes. SketchUp provides a user-friendly interface and powerful modeling tools to create detailed 3D objects and environments. Pay attention to the organization and structure of your models, as it will make the animation process smoother.
2. Export: Once your models are ready, export them from SketchUp in a suitable format. Commonly used formats for animation include Collada (.dae), 3D Studio Max (.3ds), or Wavefront (.obj). You may need to use plugins or third-party software to convert SketchUp files to these formats if they are not supported natively.
3. Animation Software: Import the exported 3D models into dedicated animation software capable of handling 3D animation. Popular animation software options include Autodesk Maya, Blender, Cinema 4D, or 3ds Max. These tools provide advanced animation features and capabilities, including keyframing, rigging, and rendering.
4. Rigging and Animation: In the animation software, set up rigs for your 3D models. Rigging involves creating a skeletal structure or control points that allow you to manipulate the model's movements. This step is crucial for character animations but can also be useful for other types of models. Once rigged, you can start animating your models by creating keyframes, defining movements, and adjusting parameters over time.
5. Timing and Interpolation: Refine the animation by adjusting timing, easing, and interpolation between keyframes. This process helps create smoother and more realistic movements. Experiment with different curves and interpolation methods to achieve the desired effect.
6. Camera Movement and Scene Setup: Animate the camera movements to enhance the storytelling and presentation of your models. Set up different camera angles, pans, zooms, or rotations to capture the best views of your scenes. This step adds depth and dimension to your animation.
7. Lighting and Materials: Apply appropriate lighting techniques and materials to enhance the visual quality of your models. Experiment with different lighting setups, shadows, and reflections to create realistic or stylized effects.
8. Rendering: Once the animation is complete, render the final frames or sequences using the animation software's rendering engine. Depending on your requirements, you can adjust rendering settings for quality, resolution, and file format. High-quality renders may take considerable time, so plan accordingly.
9. Post-Processing: After rendering, you can perform post-processing using video editing software like Adobe After Effects or compositing tools. Add additional effects, adjust colors, overlay text or graphics, and refine the final output.
10. Export and Distribution: Export the final animation in a suitable video format, such as MP4, AVI, or MOV. Consider the intended platform for distribution, whether it's for web, social media, or other mediums. Compress or optimize the video if necessary, balancing file size and quality.
By combining SketchUp's modeling capabilities with dedicated animation software and post-processing tools, you can bring your 3D models to life through animated storytelling, visualizations, product demonstrations, or any other creative application.
What are some Tools and Extensions in SketchUp that can be used for animation?
There are some tools and extensions that can enhance its capabilities for basic animation purposes. Some of these tools are as follows:
1. Animator: Animator is a popular extension for SketchUp that enables basic animation functionality. It allows you to create keyframe animations by defining different positions and orientations for your objects at specific points in time. You can then play back the animation and export it as a video or image sequence.
2. SimLab Composer: SimLab Composer is a comprehensive 3D scene building, rendering, sharing, and animation software that can work in conjunction with SketchUp. It offers advanced animation features like creating object animations, camera animations, materials animations, and more. It provides a range of options for controlling the timing, easing, and looping of animations.
3. Fredo Animator: Fredo Animator is another extension for SketchUp that enables animation capabilities. It offers keyframe animation functionality for objects, cameras, and scenes. You can define the position, rotation, and scale of objects at different keyframes and play back the animation within SketchUp.
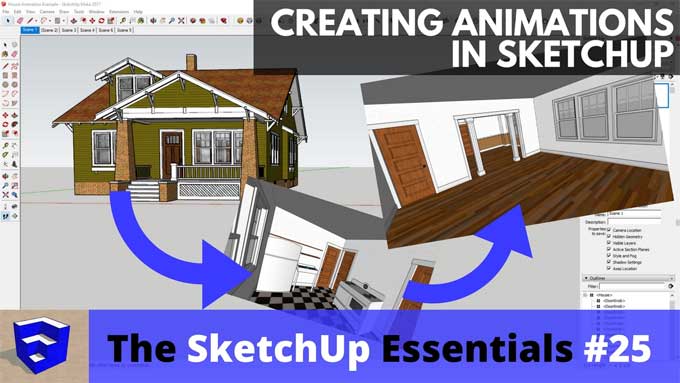
To learn more, watch the following video tutorial.
Video Source: TheSketchUpEssentials
4. SU Animate: SU Animate is a plugin for SketchUp that allows you to create animations directly within the software. It offers a straightforward interface for defining camera paths and object movements, and it supports various animation settings such as timing, easing, and looping. You can export the animation as a video or a series of images.
5. Twilight Render Animation: If you are looking to create rendered animations, Twilight Render is a popular plugin for SketchUp that provides advanced rendering capabilities. While it primarily focuses on rendering, it includes animation features like defining camera paths, object movements, and rendering animation frames. You can export the rendered frames as an animation sequence.


