How to set the Vertical Profile Members' Orientation in Profile Builder 3
Creating vertical profile members can be challenging since they tend to be oriented horizontally. Adjust your drawing axes so that the wall is aligned. Tap the end key to rotate the profile 45 degrees in increments of 45 degrees when creating the Profile Member. Setting the correct orientation is much easier this way.
About Profile Builder 3
You can extrude a face around a path using Profile Builder 3. You can reuse profiles from the Profile Builder 3 library on each project. Additionally, you can create your own profiles and save them for use next time. You can adjust the offsets, scale, and orientation of the sample profile along the path to fine-tune how it will be extruded.
The Profile Builder is easy to use as-is. Do not be intimidated by this. This means you can use the tool right out of the box while also having access to more advanced features if you need them.
Features of Profile Builder 3
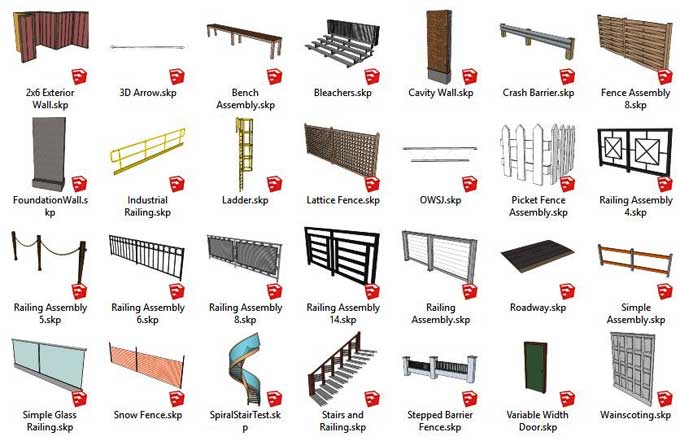
No need for Profile
In order to extrude your model with the Follow Me tool, you must have created a surface first. A library of pre-configured profile members is available in Profile Builder 3. Having the ability to save your custom profiles for future use makes it extremely convenient.
No need for Path
When using Profile Builder 3, you're not required to draw a path or select it beforehand like you are with the Follow Me tool. Rather, you use the Inference System and axes to draw your profile using the Line tool. In the matter of extruding a profile, you are able to do so along a pre-selected path if you wish. This feature is especially useful when extruding curves.
To learn more, watch the following video tutorial.
Video Source: mind.sight.studios
Download now for free trial - Profile Builder 3