Learn about V3 Maxwell for SketchUp Tutorial: Camera Exposure
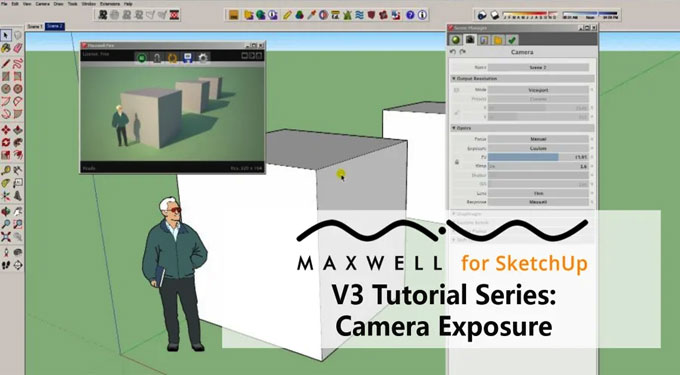
We are going to discuss about the optics portion of the camera tab. The most important thing to understand is that there is only two thing that you will really need to focus on when it comes to slider settings- the EV and the fstop.
The reason for this is traditionally working with a real-world camera your exposure would be controlled by a combination of fstop, the shutter speed and the ISO. The reason why you do not have to worry about the shutter speed and the ISO in SketchUp is because shutter speed would traditionally control things like motion blur and because there is no true animation capabilities within SketchUp we are not going to be able to use the shutter speed to control and add motion blur, so the shutter speed value has no importance whatsoever.
The ISO is not going to have any negative impact either because of the fact that you?re not going to be working with any kind of film sensitivity or you?re also not going to be working with anything that has a graininess. Therefore, the ISO values and the shutter speed values can be basically what they need to be in order to give us the exposure we want.
That is the reason why the EV value is the only thing you need to worry about when you are worrying about exposure. Therefore, it is advisable to not worry about the shutter speed and ISO, keep them locked all the time, and modify the EV value to get the exposure you want.
Now the idea of EV is when you reduce this you will be brightening the exposure and when you increase it you are going to be decreasing your exposure. So, making the value high will make it darker and making the value low will make it brighter.
If you notice the exposure you will see that you are using a type of custom, you will also notice a drop-down list here- dark interior, bright interior, overcast exterior, bright exterior, night exterior. All of these are just pre-setting and all they do is change the EV to a typical value that you like.
The important thing to understand with working with EV here is we are modifying you will see it happen in big big chunks, if you do not like that then come over to the square at the EV to the right and change the preferences for this particular setting.
You can set the precision to two decimal places and change the increment to 0.01, what this will do is allow you to have a more finetune control over the EV slider, click OK to accept that value. Now when you will click and drag you will notice that you are getting a fine tune control over that exact exposure to get exactly what you are looking for without the big jumps.
This is a setup that is recommended when you are working with the EV. Now you also want to be concerned with the response. The response is going to be mimicking the response of the film.
You will notice that by default you are using a response by Maxwell, you will also notice that you have a drop-down menu of a bunch of different film type. The idea is you will be choosing a film type and what you will get is a response of that particular film and you can change it to be whatever one that you want and you will see each will have a difference depending on the one that you pick.
Some are going to be fairly strong difference while some are going to be fairly subtle. Generally speaking, this is something that you want to setup according to your EV because you will notice how it changes the perception of your overall exposure value.
The best is to first set your perspective, choose whether or not you want any vignetting effect, then choose the film response and then modify the EV value in order to get the precise type of exposure that you want.